If you’re familiar with Montessori in Infancy, you’re probably familiar with Montessori Baby Mobiles! Other than being beautiful hanging pieces in your baby’s nursery, Montessori Baby Mobiles are strategically designed and optimize development in the right ways at the right times.
There is actually a purposeful progression of Montessori Mobiles that purposefully hits visual stimulation at just the right time.
For example, this Montessori Dancers Baby Mobile is perfect for babies who are seeing color and who are beginning to visually track.
But what is visual tracking?
Why thanks for asking! 😉 Visual tracking is when a baby is able to follow an item with their eyes. And it is actually something that babies refine throughout the first few months of development to year of development.
What You Will Need
This Montessori Baby Dancers Mobile is actually fairly simple! You will just need:
- One long stick and two smaller sticks
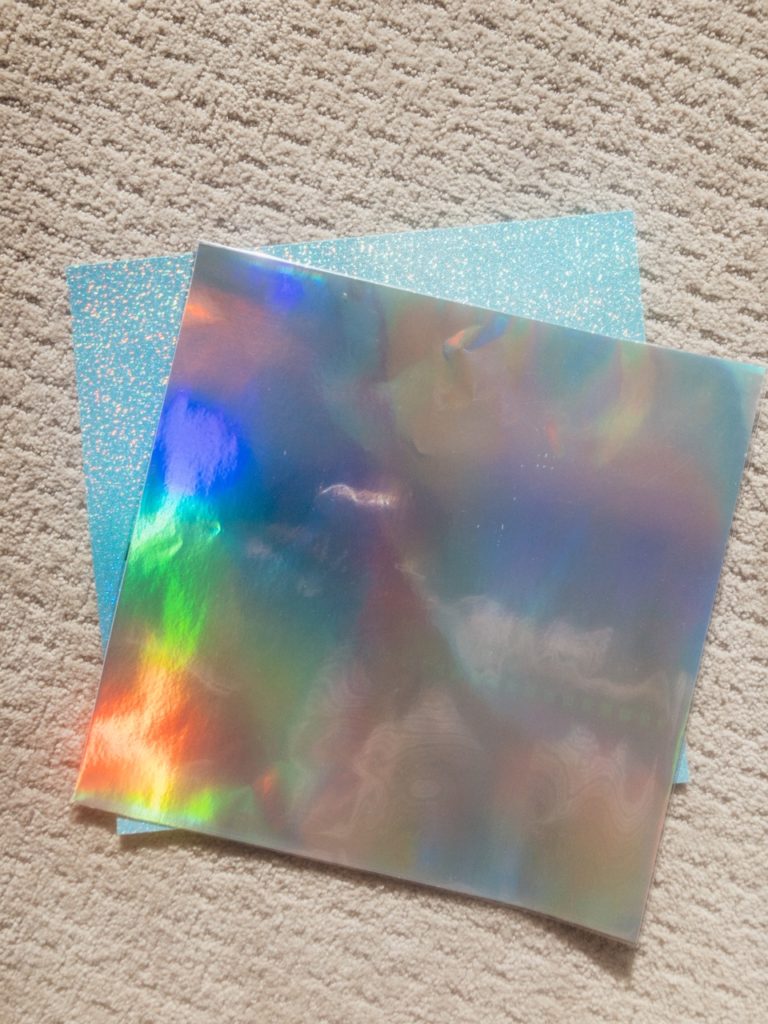
- 2 pieces of holographic paper of 2 different colors
- string
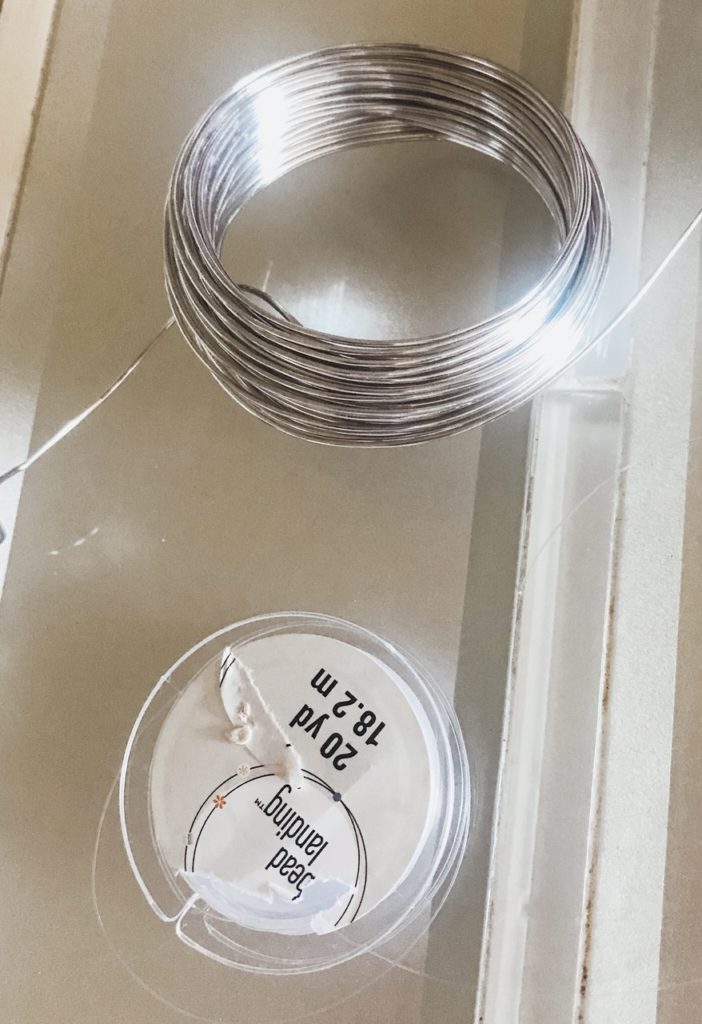
- wire
- glue
- And a lot of loving patience as you balance your mobile. 🙂
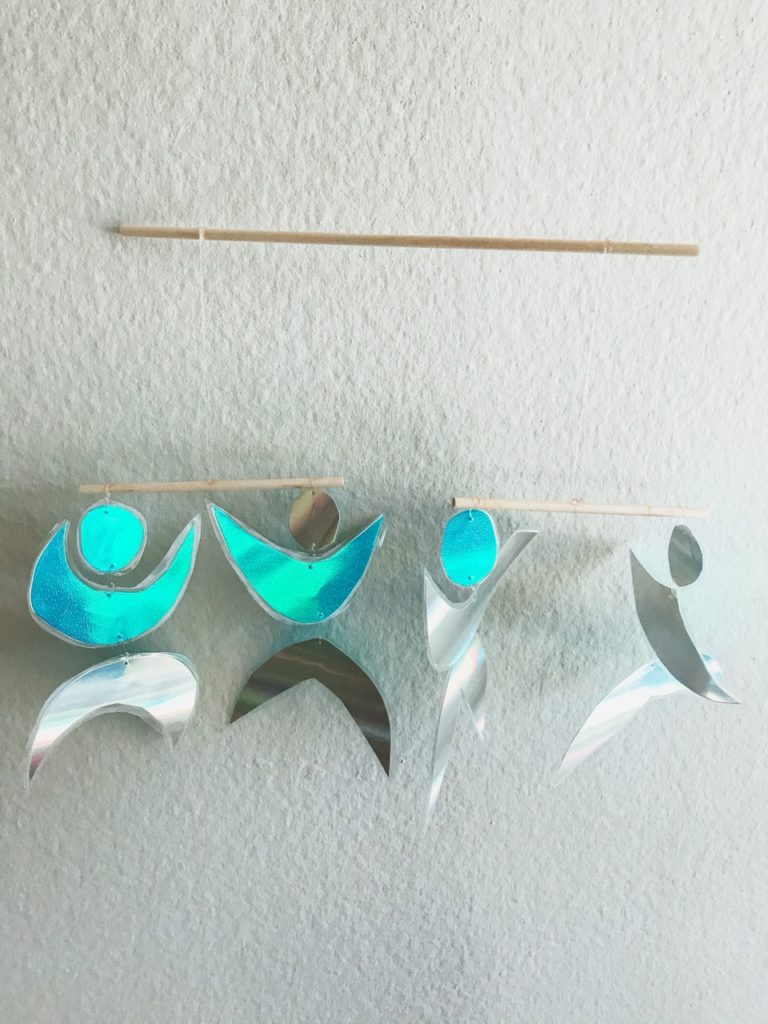
Creating this mobile is totally doable! The idea is to have two-sided dancers with a different color on either side, so you will want to either have adhesive paper or use a laminator to hold the papers together.
Funny story: In my Assistants to Infancy Montessori Training, we were required to make a couple Montessori Mobiles. I loved the look and idea of the Montessori Dancers Mobile so I went on a hunt to find the perfect holographic, adhesive paper. I ended up sticking the two pages together, cut out the dancers, and finished the mobile. It was perfect!
Then, excited young Bianca placed it in the back seat of her car and drove to get it approved by her Montessori Trainer. Mind you, that day it was pushing 100 degrees outside. And by the time I arrived, my dancers had shriveled up and were no longer sticking together. 🙁
So for that reason… I laminate my dancers. Lol! But if you’re not going to drive your adhesive dancers around in a toasty car, you’ll be find using either method.
I found all of my materials at my local Michaels crafting store. Here ya go!
DIY Montessori Baby Dancers Mobile
Step 1
Tape or stick the two holographic colored pieces of paper together.
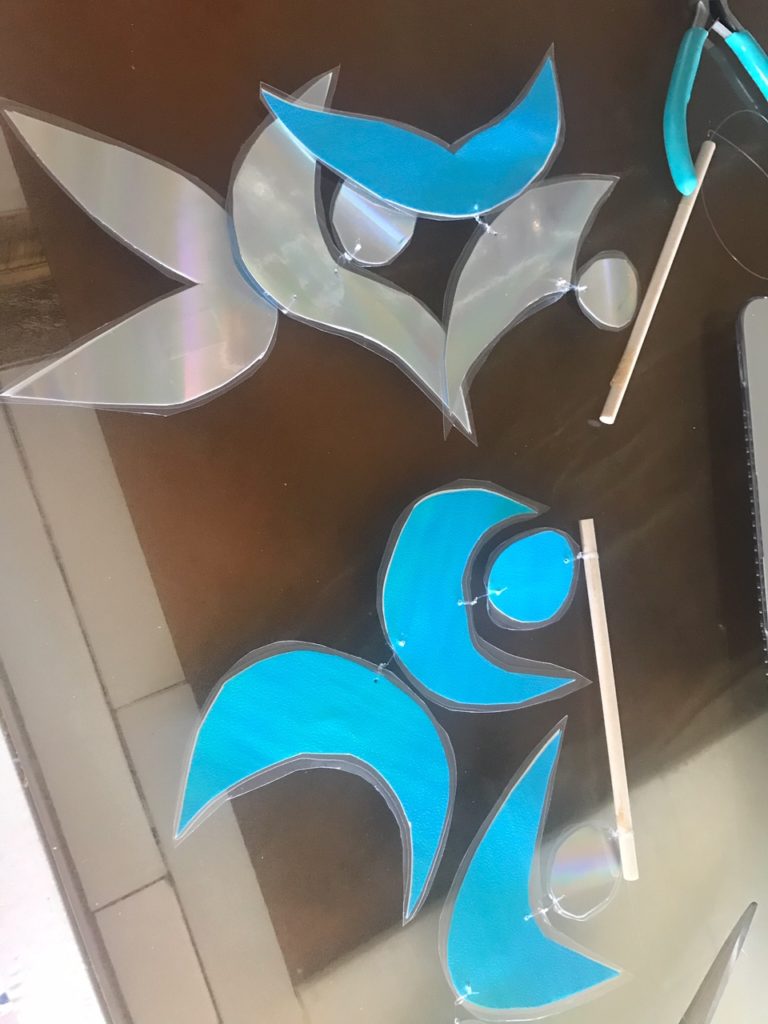
Step 2
Cut out the shapes of dancers. (I had a picture of the dancers up to see how their bodies are typically shaped and just drew them freehand. 🙂 )
Step 3 (Optional)
Laminate + cut out dancers.
Step 4
Punch tiny holes using push pin. You’ll want to punch tiny holes in the top of the legs, bottom of arms, top of arms, bottom of head, and top of head. (See pic for reference.)
Step 5
Cut even strings and tie each body part together until you have 4 complete dancers. (Legs to bottom of arms, top of arms to bottom of head.)
Step 6
Cut 4 more even strings. String through the tiny hole in the top of the head of each dancer and tie two dancers on either end of the shorter sticks.
Step 7
Once you have secured the 4 dancers on the two smaller sticks, cut two longer & even pieces of string. Then balance both smaller sticks (with dancers attached) on the longer stick using the two strings.
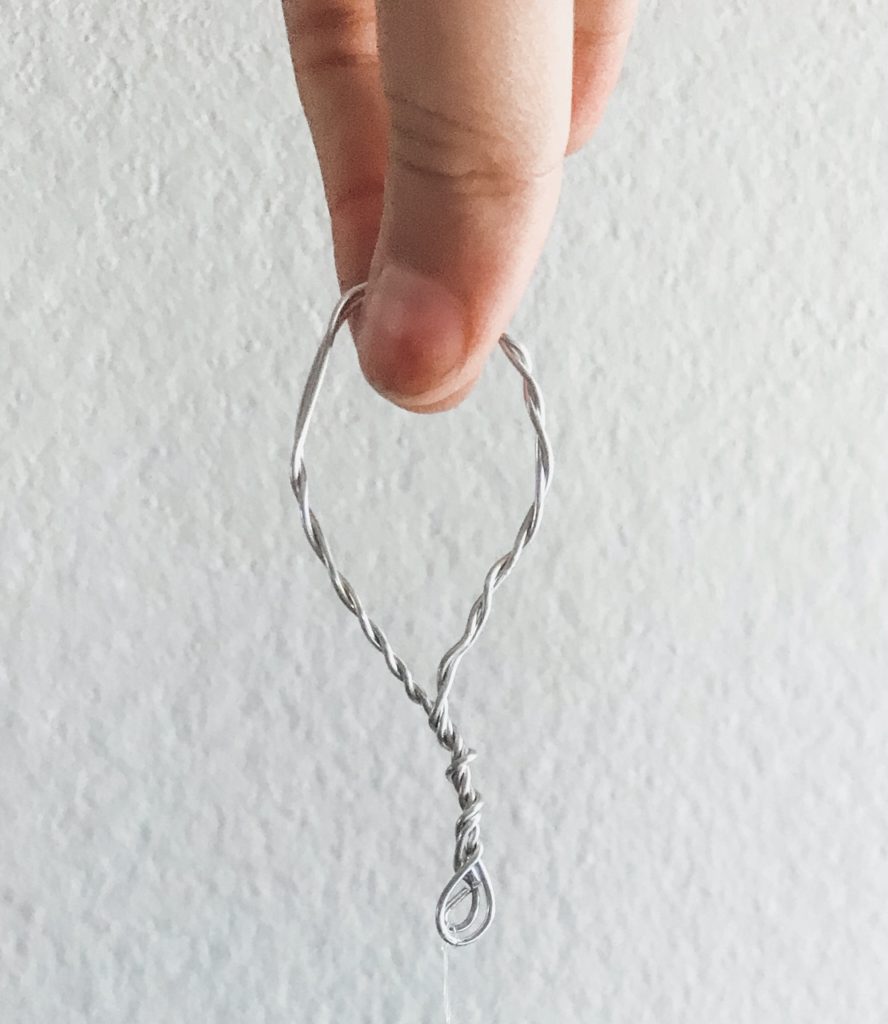
Step 8
Create the mobile hook. (I used wire and twisted to create a DIY hook.)
Step 9
Cut one long string and secure the center of the string on your DIY hook.
Step 10
Tie either end of the string on either end of the longer stick.
Step 11 PRO TIP
Hang your mobile from a hanger and onto a door knob or something that can suspend your nearly completed mobile. (This will help in your balancing.)
Step 12
Glue your strings in place so your mobile maintains the balance that you worked so hard on!
The hardest part of this mobile (and every other Montessori mobile) is the balancing aspect. It does take time… so just be patient, my friend.
And since balancing is essential for the proper effects, it is crucial to balance all pieces and then glue them in place.
…. and that’s it! Have fun Montessori crafting my friend!
If you end up trying this out, I’d love to hear about it! Let me know how it goes in the comments below!